| 1 | Measurement Range | Choose a range that matches the intended task. General household models commonly cover approximately -50°C to 500°C (-58°F to 932°F), while industrial models may measure considerably higher temperatures. | A thermometer cannot provide useful readings outside its specified operating range. Selecting an appropriate range helps prevent inaccurate measurements and unnecessary cost. | List the coldest and hottest surfaces you expect to measure, then compare them with the stated measurement range. |
| 2 | Accuracy | For many non-contact applications, a specification of approximately ±1.5°C or ±1.5% of the reading, whichever is greater, is a practical benchmark. | Accuracy determines how closely the displayed result represents the actual surface temperature. Performance may vary depending on distance, surface type, and ambient conditions. | Read the accuracy specification together with its stated test conditions and temperature range rather than relying only on the headline figure. |
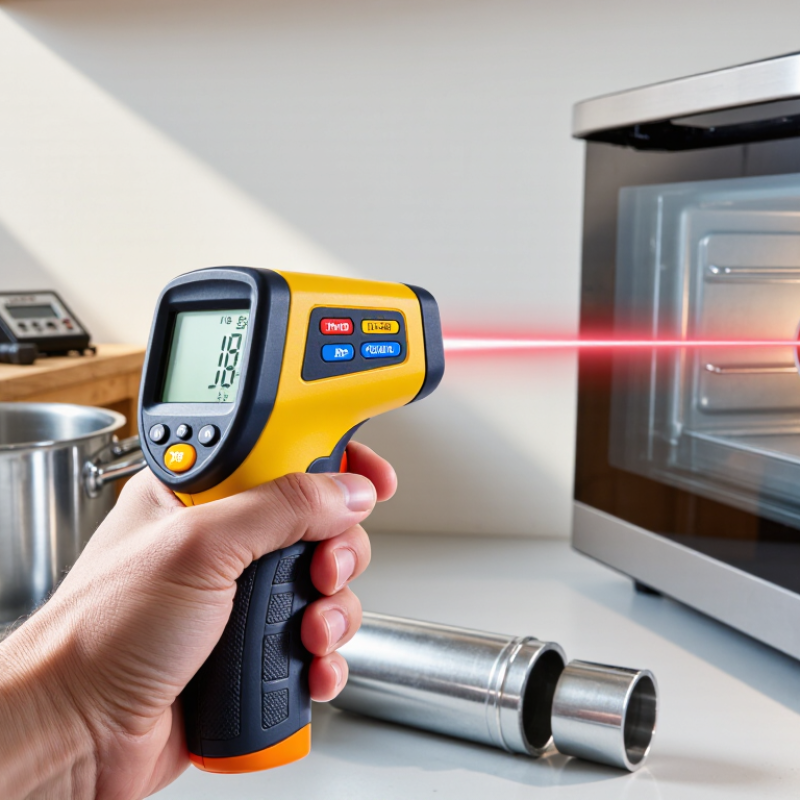
| 3 | Laser Safety | Prefer a clearly identified low-power visible laser, typically Class 2, with safety labeling and instructions for avoiding direct eye exposure. | The laser is an aiming aid, not the temperature sensor. Proper classification and clear warnings reduce the risk of eye injury during use. | Look for the laser class, warning label, user instructions, and a trigger or menu option that allows the laser to be switched off. |
| 4 | Distance-to-Spot Ratio | A ratio of at least 12:1 is useful for many home and workshop tasks. Higher ratios are helpful when measuring small or difficult-to-reach targets from a distance. | The ratio describes how large the measured area becomes as the thermometer moves farther away. A small spot helps isolate the target and avoid nearby surfaces. | Confirm the stated ratio and calculate the spot size. For example, a 12:1 ratio produces an approximately 1 cm spot at 12 cm distance. |
| 5 | Emissivity Adjustment | An adjustable emissivity setting covering about 0.10 to 1.00 provides flexibility for different materials. Fixed-emissivity models are best for consistently matte surfaces. | Non-contact thermometers estimate temperature from infrared energy. Shiny, reflective, or low-emissivity surfaces can cause significant errors if the setting is unsuitable. | Verify that the emissivity can be adjusted and review the manual for recommended settings for metals, painted surfaces, plastics, and other materials. |
| 6 | Display Readability | Choose a high-contrast digital display with backlighting, clear unit selection between °C and °F, and easily readable digits. | A readable display improves accuracy during quick inspections, low-light work, and measurements taken at awkward angles. | Check the digit size, backlight control, viewing angle, unit conversion, and whether the screen shows warning symbols clearly. |
| 7 | Response Time and Functions | A response time of approximately 500 milliseconds or less is convenient. Useful functions include hold, minimum, maximum, average, and temperature difference. | Fast response and data functions make it easier to scan several points and identify unusual temperature changes without repeatedly recording readings by hand. | Confirm which functions are included, how they are activated, and whether the reading remains visible after the trigger is released. |
| 8 | Operating Environment and Protection | For ordinary indoor use, an operating temperature of roughly 0°C to 40°C is common. Dust- or water-resistant construction is useful for workshops and outdoor tasks. | Ambient temperature, humidity, dust, and moisture can affect reliability and may damage a device that is not designed for the working environment. | Review the operating and storage temperature limits and look for a stated ingress-protection rating when exposure to dust or water is expected. |
| 9 | Power and Ergonomics | A common replaceable battery should provide several hours of active use or many measurement sessions. An automatic shut-off feature helps conserve power. | Comfortable handling and dependable battery life reduce interruptions, especially during repeated inspections or work in difficult positions. | Check battery type, estimated operating time, automatic shut-off period, grip design, trigger placement, and overall weight. |
| 10 | Calibration and Intended Use | Choose a model with documented calibration guidance, a stated warranty, and specifications suited to the application. Do not use an infrared thermometer for medical, food-safety, or electrical work unless it is specifically designed and approved for that purpose. | Calibration support helps maintain confidence in measurements. Different applications may require specialized accuracy, hygiene features, electrical ratings, or regulatory compliance. | Review the calibration interval, included documentation, warranty terms, application limitations, and any required safety or compliance markings. |





 System Features
 Key Features
 Key Features
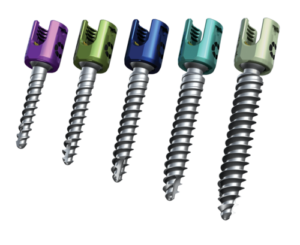 Key Features
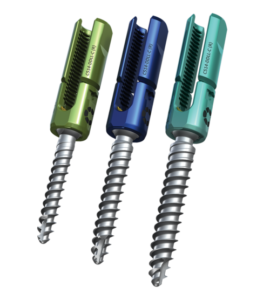 Key Features
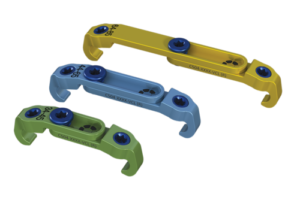 Key Features
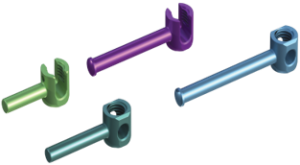 Key Features
 Key Features
 Key Features
 Key Features